Saturday, May 5, 2012

Friday Sandwich Night


It's uncommon for us to have sandwich as our main meal and something different always spice up the day and excite the girls. 

Sandwich Nite
I made 2 loaves of whole-wheat bread on Friday noon for our sandwich night and we managed to complete 1 loaf, better than what i anticipated, the 2nd loaf was meant to keep for later days  ;).  Stomach was too full to give more space for the ABC soup that i cooked.
 
Home-made whole-wheat bread for sandwich night 

The girls just loved the two fun sandwiches that i made for them using the cookie cutters.  They then had fun making their own subsequent sandwiches.

Flower & butterfly sandwiches for my two beloved daughters

When they saw daddy's sandwich, they called it 'stack up sandwich'! (lol)
 
'Daddy's stack-up sandwich'...according to the girls

We had a good dinner time, in fact very full and satisfying dinner with our yummy home-made sandwich. 

Sandwich.....Anyone??
 Asked my girls: 'Want more sandwich night?' 
'YES!!!'  answered aloud.  ;D


Thursday, May 3, 2012

Whole-Wheat Raisin Rolls


My 1st try of whole-wheat raisin rolls.....not very pretty.  Obviously, more try is needed.  Hopefully my next attempt will be a better looking rolls.  ;P 


Ingredients:
  • 2 tsp active dry yeast
  • 1 1/4 cup warm water
  • 1 tsp sugar
  • 1 1/2 cup whole wheat flour
  • 1 1/2 cup all purpose flour
  • 2 tsp salt
  • 1/4 cup raisins
  • Melted butter for glazing

Steps:
  1. Soak the raisins in a bowl with hot boil water for at least 10-20mins (or as long as you can, i soak for about 30min-1hr while putting my girls for their nap time), drain well b4 used 
  2. Dissolve yeast in the 1/4 cup warm water, add the sugar and let sit 5min, until starts to foam/bubbling
  3. Mix the flours and salt in a warmed mixer bowl, make a well in the center and pour in the yeast
  4. Stir and start mixing on speed 2 with an electrical mixer/stand mixer
  5. Mix in the raisin and gradually add in the remaining waters
  6. Continue mixing till obtain a rough dough/dough starts to clean sides of bowl
  7. Continue kneading on speed 2 till dough is smooth and elastic.  Dough will be slightly sticky to the touch 
  8. Transfer to a floured surface and knead to form a ball
  9. Place dough in a greased bowl, turning to grease the top
  10. Cover the bowl and let it sit at room temp, to double, about 1 - 1 1/2 hours
  11. Punch down the dough and divide into 12 equal pieces, roll the pieces into balls.
  12. Place it in a greased square baking pan, cover and let rise to double, about 45 min
  13. Brush the top with melted butter, place the pan in a preheated oven at 425F/218C and bake for 15min
  14. Lower the heat to 375F/190C and bake for another 30min
  15. Remove from pan immediately and cool on a wire rack  

Wednesday, May 2, 2012

Mint Leaves Chicken

If you are not rejecting the smell and flavor of mint leaves, here is another dish that you may give it a try - Mint Leaves Chicken.    


Ingredients:
  • 1 pound boneless, skinless chicken breast (cut into cubes)
  • 1/4 cups mint leaves
  • 1/3 of yellow bell peppers (cut into thin slices)
  • 1 tsp chopped garlic
  • cooking oil for cooking
  • a handful of cashew nuts (optional)

Marinade:     
  • Combine 1 tbsp soy source and 2 tsp cornstarch, mix well
  • Add the chicken to the marinade and stir to coat evenly, let stand for 10mins 

Steps:
  1. Place a wok/stir-fry pan over high heat until hot, add the oil and swirling to coat the sides
  2. Add the garlic and cook, stirring until fragrant
  3. Add half of the mint leaves and quick stirring, remove the mint leaves from the wok, drain and set aside
  4. Add the chicken in the wok stir fry till the chicken is cooked (add a bit of water if necessary)
  5. Add the yellow bell pepper and the remaining half of the mint leaves, cook and stir to mix
  6. Remove pan from the heat, add the nuts and stir to mix
  7. Transfer to a serving plate, garnish with fried mint leaves (and few more fresh mint leaves, if wish), serve 

Tuesday, May 1, 2012

Little Chefs in Action

Strawberry Banana Muffin

For the first time, i'm letting the girls do it all - from mashing the bananas to fill the batter into the baking pan (of course, with the guidance and assistance from me ;).  

Normally, they'll just be involved in some steps of baking for a while, but this time, they almost did it all, except the part of measuring the ingredients and put the pan in the oven. 


Luckily, it was not really an 'disastor' that i would have imagine, except with some unavoidable mess on the working table.  ;P


My 5 yrs old was very proud of herself for making the muffins and she can't wait till daddy's home to tell her daddy 'bout it. 

The girls' beautiful Strawberry Banana Muffins hot from oven

The girls seem to eat more too as compared to what they normally had from my baking.  Mhmm....seems like it's not a bad idea to have them involved in making...


A muffin normally do not have any deco, but who cares if it make the girls happy?  We ended up putting strawberries on top of some  muffins and the girls had a great afternoon tea-time...yummy!


Friday, April 27, 2012

Fried Egg Prawn (虾仁抄蛋)


This is now my hubby's favorite egg dish.  Just add all the ingredients together to cook for about 5-10mins, a nicely smell and mouth-watering dish is ready.  Yum Yum!

Ingredients:
  • 4 eggs
  • 8 medium-sized prawns, peeled and deveined
  • 1 tsp cornstarch
  • 1 tsp soy source
  • 1/4 tsp salt
  • 1-2 green Onion, chopped
  • Cooking oil
Steps:
  • Combine cornstarch, soy source & salt together in a bowl, mix well.
  • In another bowl, beat the eggs with a fork until blended
  • Add the cornstarch mixture and prawns into the bowl of beaten eggs, mix well
  • Add cooking oil in a wok, bring to high heat until hot, swirling to coat the side
  • Add the egg mixture and cook 
  • Gently stir the eggs occasionally and cook till the shrimp begin to curl and thoroughly cooked
  • Transfer to a serving plate, sprinkle with the green onion and serve   
  

Thursday, April 26, 2012

Rice Cooker Mushrooms Chicken Rice (香菇鸡饭)


I use a rice cooker to prepare this mushrooms chicken rice - a healthier, quick & easy way to prepare a meal, which is less oily since it's 'steamed-cooked'.

It is a simple and straight forward one-dish meal recipe and always come in handy especially when i do not have time to prepare a 3 dishes 1 soup complete meal.  I just have to prepare a quick and simple soup like mint leaves soup to go with this mushrooms chicken rice. 

This might not look very appealing as i have to omit the dark soy source since my kitchen do not have one, but it tasted good.  So if you have dark soy source, you may add it to the recipe and you can enjoy a better looking cum tasty Mushrooms Chicken Rice.   :)

Ingredients:
  • 1 3/4 cups rice
  • water to cook rice (according to manufacturer's instructions)
  • 1 pound boneless, skinless chicken meat, cut into cubes 
  • 6-8 dried mushrooms 
  • 2 eggs 
  • Some vegetables (e.g Kai Lan or Bak Choy)
  • 1-2 green onions, chopped
  • 2 tbsp oyster source
  • 1 tbsp soy source
  • a dash of sugar and salt each

Steps:
  • Thoroughly clean and rinse the chicken, drain well
  • In a bowl, combine the chicken, oyster course, soy source, sugar and salt - mix well and marinade for 20-30mins (the longer it marinade, the better its taste - i normally prepare it in the morning, and put it in a fridge for dinner)
  • In a bowl, soak the mushrooms with water until softened, about 15-20mins
  • Drain well the mushrooms, discard the stems and cut the mushrooms into pieces, mix it with the chicken marinade prior to add into the rice cooker to cook
  • Wash the rice, add the water and cook rice 
  • Open the rice cooker lid and add the chicken & mushrooms marinade into the rice cooker when the rice is about 3/4 cooked (the water is bubbling and almost dried up when open the rice cooker lid)  
  • Add the eggs and vegetables into the rice cooker when the rice is almost cooked (final stage of cooking)
  • When the rice is done, open the rice cooker lid and use a spatula to roughly stir quickly, then close the lid and keep warm for at least 20mins to ensure the chicken & eggs are thoroughly cooked through.
  • Use a spatula to mix well the ingredients with the rice, sprinkle with the green onions prior serving.

Note:
  • I used boneless & skinless chicken to ease my girls in eating, you may use boned chicken if you wish
  • The longer you marinade the chicken, the better its taste.  I normally marinade the chicken in the morning and put it in the fridge for dinner.  Bring it out from the fridge 20mins before cooking to let the chicken resume back to room temperature prior cooking.  If you marinade the chicken for such long, soak the mushrooms only 15-20mins prior to cooking. 

Wednesday, April 25, 2012

Portland Spirit River Cruise Dining

Portland Spirit is the Northwest's premier dinner ship, has two enclosed decks that seat 340 guests plus an outer deck.  It offers dinner, lunch, brunch cruise as well as 'sight & sips' cruise.  We chosen lunch cruise as it works best for our girls schedule.


It was a beautiful sunny Saturday when we aboard Portland Spirit for downtown lunch cruise, a perfect day for river cruise. :)

This two-hour cruise offers fine dining at own private table with northwest cuisine, live piano music and the Portland downtown skyline.  There were quite a number of people joining the cruise on that day, it was almost full. 


My two little girls were very excited when been told to aboard the ship and have their lunch there.  Our luck was not bad that we were being seated on a table next to the window and facing the live entertainment stage.  The crew service is good and the ambiance set the mood. 


Prior to departure, there was a brief intro from the captain and a safety demo from a crew.  With a welcoming song from crew members, here we go for the beautiful Portland downtown skyline... 


While waiting for the food served, we had a quick visit to the outer deck. 


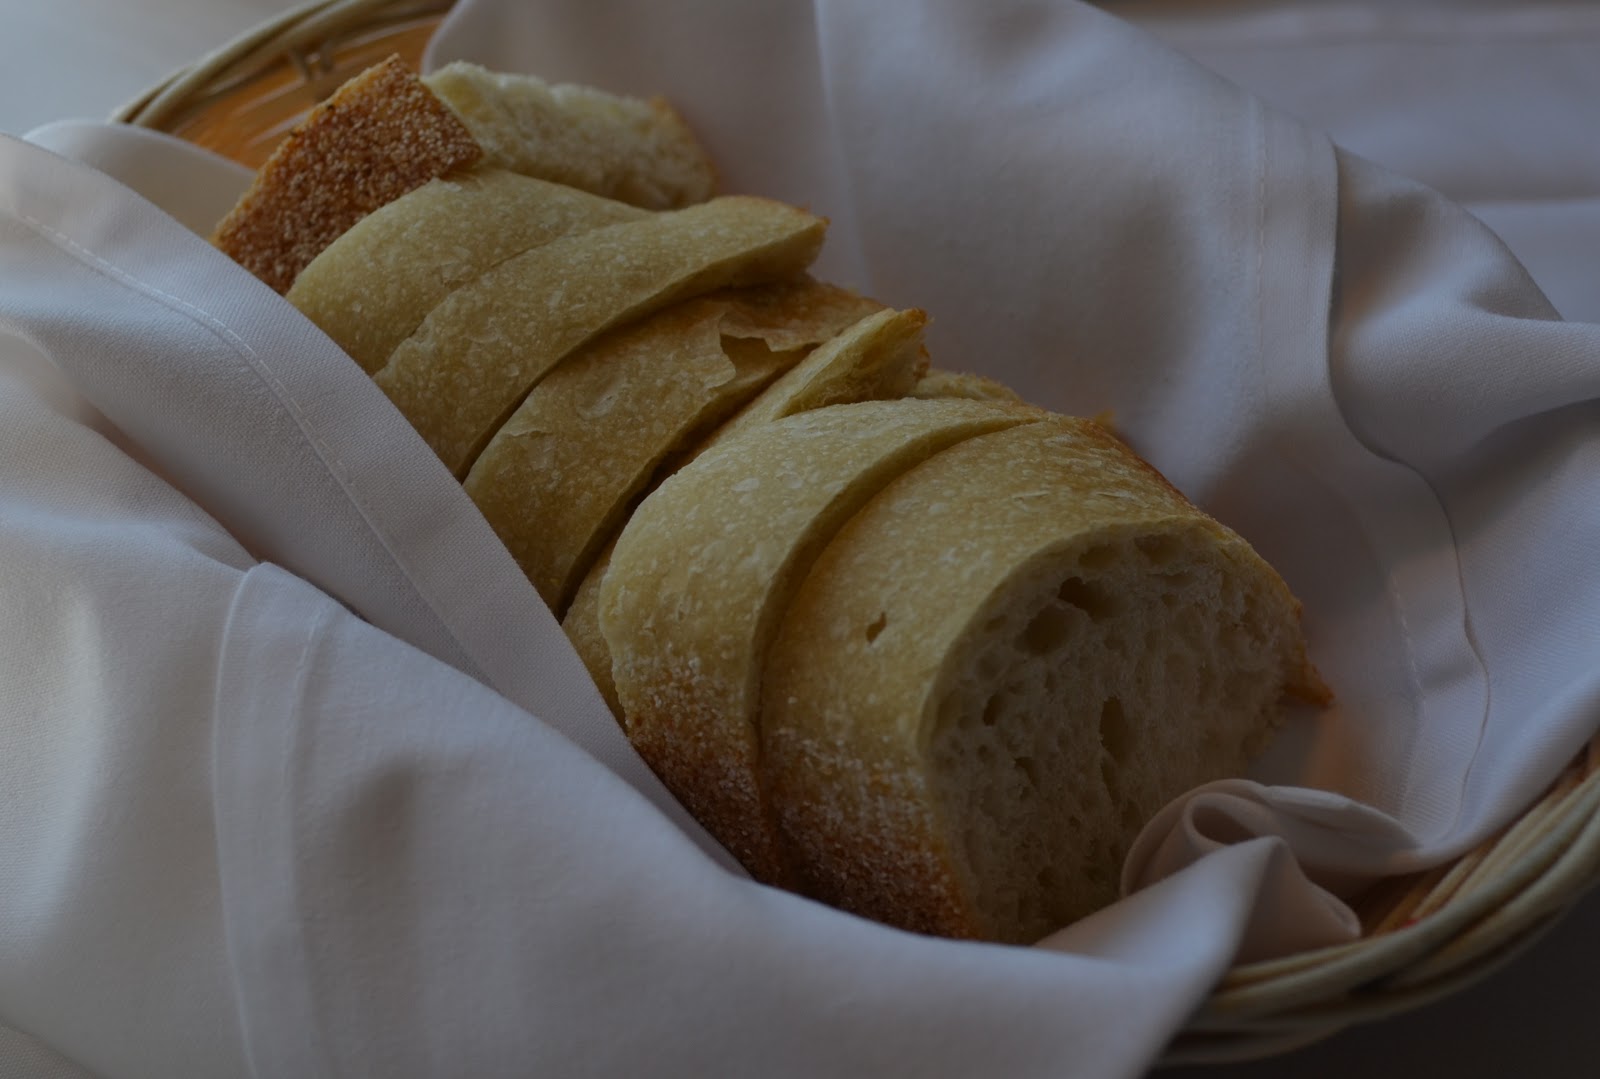
I didn't expect much on the food as for the one of its kind dining experience like this, normally the food is not really the selling point.  However the first item served - a basket of hot bun, has proved me wrong.  The bun was soft and tasted together with butter, it was yummy. 


Then come the entrees.  We were allowed to order 4 entrees though children below 4yrs old are FOC (what a great deal!).  I was surprised that the food served were tasty, especially the Chicken Pomodoro, which my girls kept asking for more. 
 
Chicken Pomodoro - Stewed chicken with tomato, artichoke, fresh herbs etc.
Served with mashed potatoes and sauteed seasonal vegetables

 Hubby had the steak and he was satisfied with it.    

Came Adobada - Chipotle marinated, charbroiled shoulder tender steak topped with fine roasted salsa.
Serve with mashed potatoes and cotija cheese

The smoked salmon pasta tasted not bad, but the Open Faced Crab Melt was so so only.
  
Wild Smoked Coho Radiatore Pasta - Tossed with asparagus, shallots, shiitake mushrooms and a clam be hamel sauce. Topped with shredded Parmesan


Open Faced Crab Melt - Crab meat, artichokes, tomato, ricotta and three cheeses on a toasted focaccia.
Served with shaved apple and pear salad with micro greens and raspberry vinaigrette


After completing our meal, we went to the outer deck again for a breeze and enjoyed the scenic view.


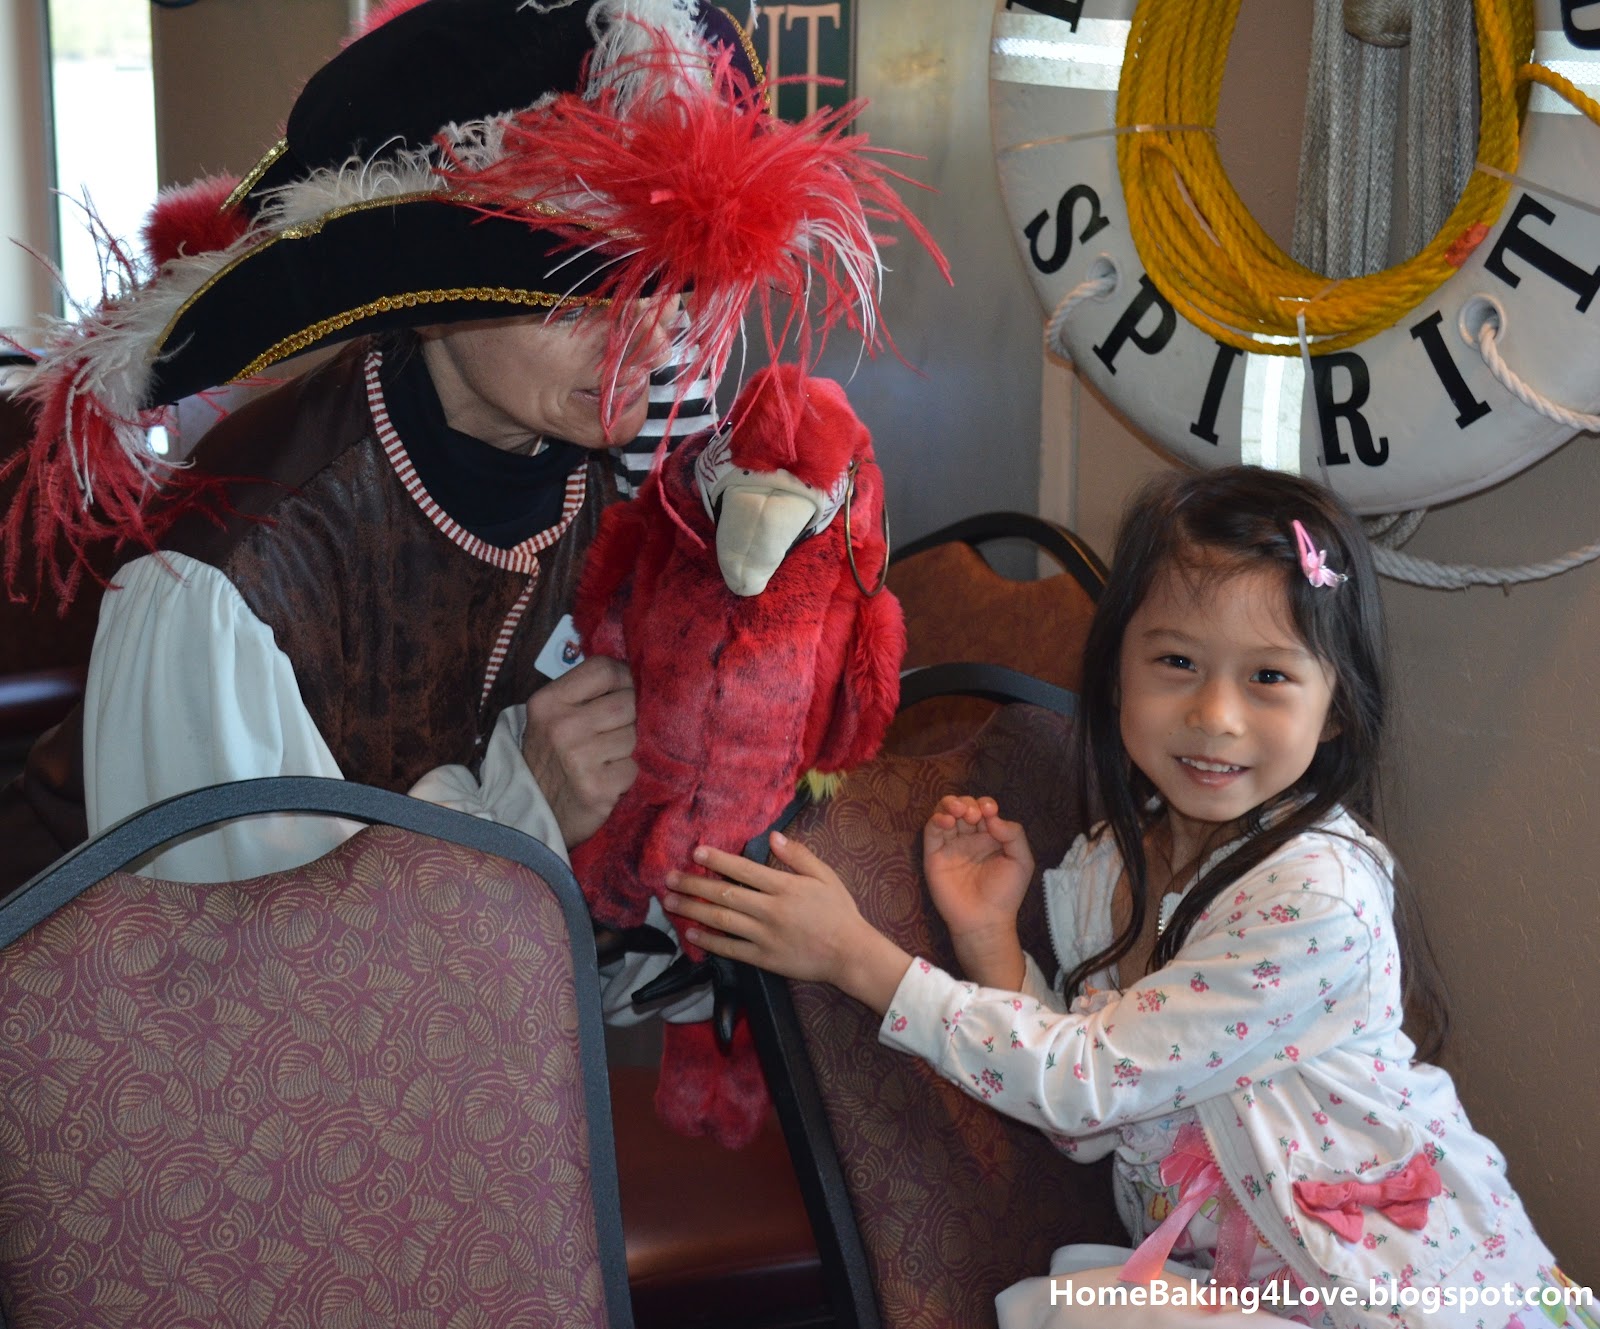
The girls visited the captain's work area and were fortunate to be offered the Honorary Captain's certificate for outstanding seamanship. 


They were happy to be invited to select a treasure from a treasure box, of course......as the treasure box was full of candy!!


There was Queen Melissa's Tea Party going on at the cruise as well.  Apparently, this Queen Melissa's Tea Cruise is available till May on Saturdays. 


We all enjoyed the cruise dining very much and had an afternoon of fun.  It was indeed a one of its kind dining experience, especially for my little lovers.

My 5yrs old drew this when back home, she said that is us had fun on ship....LOL